Tennessee Quilter
Thursday, January 25, 2018
Tablerunner and Alletaire
Deb's table runner:
And my version of Bonnie Hunter's Alletaire:
And a picture of the 9" of snow on Jan. 9, 2018:
Have a good day!
Thursday, December 7, 2017
Pictures of Quilts since Sept 2017
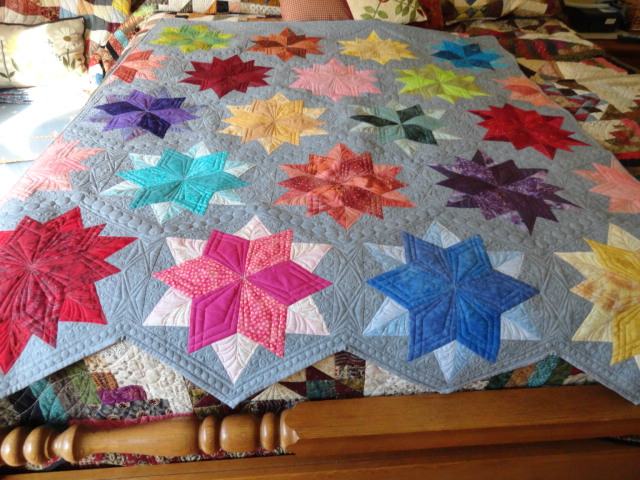
Just finished this one:
And more of Paula's:
This is Pat's:
And Deb's:
The center of Deb's quilt is the Trenton, TN (Gibson County) courthouse and all the blocks are blocks that appear on barns in Gibson County.
Saturday, September 23, 2017
And another quilt
Debbie's version of Ruffled Roses:
Friday, September 22, 2017
More Pictures
Nancy's
Paula's:
Guild Group Project:
Paula's
Mine:
Pat's:
The bull's eye is Debbie's.
Overload of Pictures
It has been a loooooong time since I posted so I have several quilt pictures:
My quilt:
Nancy's:
Anita's
Well, it won't let me upload so will try again!!
Friday, April 21, 2017
Nancy's Churndash
Finished Nancy's churndash:
Two more of my arrowhead:
Older Posts
Home
Subscribe to:
Posts (Atom)