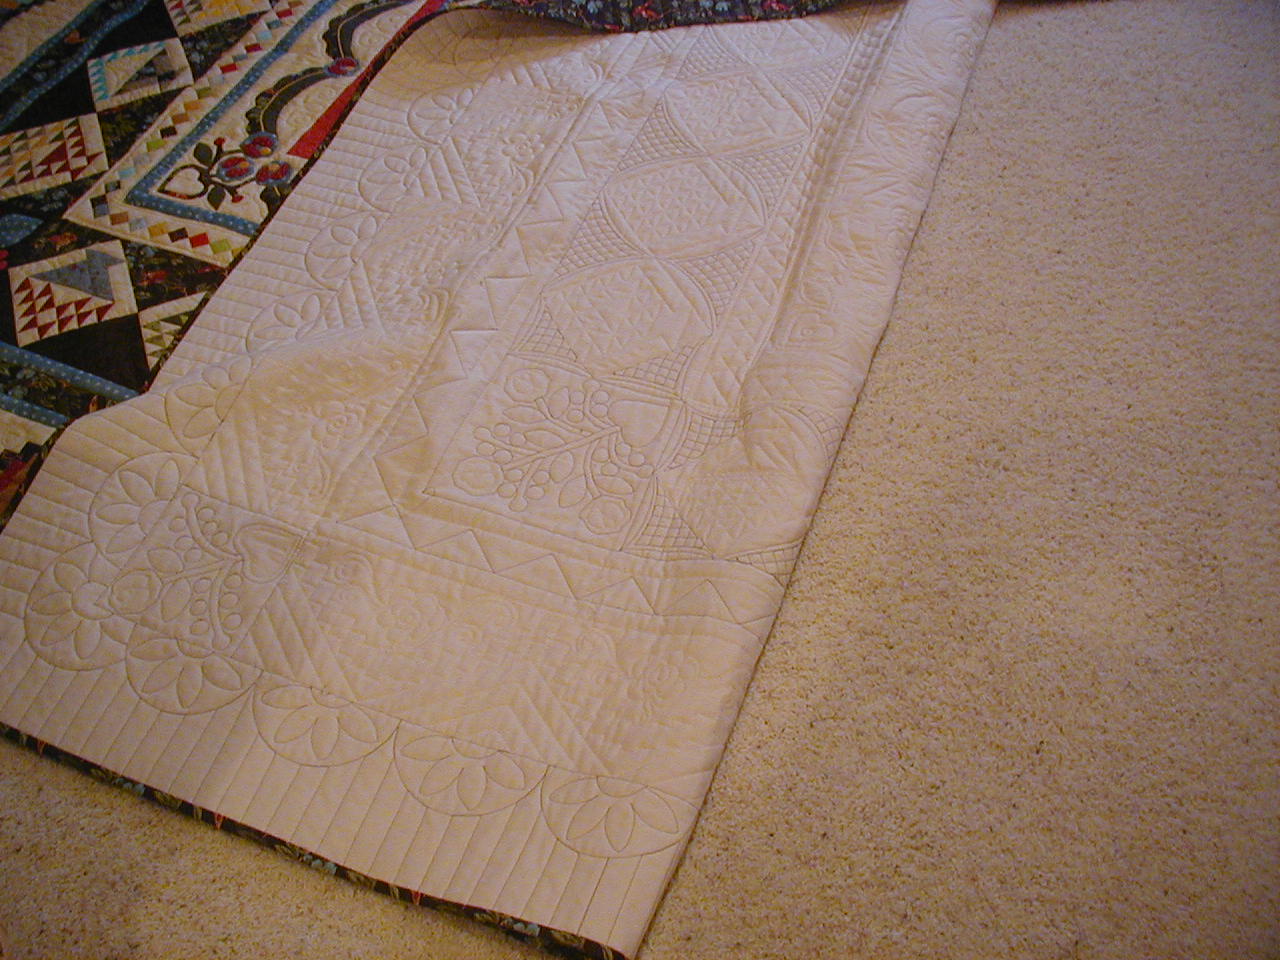
Debbie has made these banners using Toni Whitney's patterns for her son's room. All I did was quilt the edges down for her. Aren't they great!!!!
I used Aurifil inivisible thread so I didn't have to change threads all the time and they went pretty quickly.
Thursday, March 1, 2012
Wednesday, February 22, 2012
BLOCK NO. 3 - EIGHT HANDS AROUND
Cutting instructions:
INNER STAR:
Center square: Cut one 3-1/2" square
Corner squares: Cut four 2" squares
Flying Geese background: Cut four rectangles 2" x 3-1/2"
Star points: Cut eight 2" squares
LARGE OUTSIDE STAR:
Background fabric:
Cut two 4" squares
Cut four rectangles 3-1/2" x 6-1/2"
Star Fabric:
Cut two 4" squares
Cut eight 3-1/2" squares
Inner Star Flying Geese and Large Outside Star construction:
Mark each of the eight 3-1/2" squares and eight 2" squares diagonally from corner to corner. This will be the sewing line. We will make these using the connector square method. Be sure they form the V shape. While we are marking, mark the Large Outside Star corner squares diagonally and sew 1/4" on each side of the diagonal line (I used my QuikQuarter ruler and marked the sewing lines, but you can use either method):
The above shows 1/2 of the flying goose completed and the corner squares. The corner squares will need to be squared up to 3-1/2" (you should only have a sliver to trim off). Complete the flying goose by sewing the other 4 squares the same as the first.
All the parts are made. Lay your block out as follows:
Piece the inner star first as shown above. And, viola, the block is finished:
Just a note. Pressing (NOT IRONING) is important. This is how my block looks on back.
I hope everyone is enjoying this as much as I am!!
Wednesday, February 15, 2012
Butterfly Wings Finished!
Well -- finished except for the hand stitching the binding to the back but my good friend, Nancy, is going to do that for me. So that makes two of my quilts in the finished category this year.
Yep, I took all the pebbling out that I had started on this quilt and did the grid backgrounds instead. And here is my label:
One quilt finished per month. Can I do this for the rest of the year????
Saturday, February 11, 2012
Trip to Backyard Fabrics and IT'S SNOWING!
Wednesday, after guild, we went to Backyard Fabrics in Murray, KY. Had a great time as usual. I bought these fabrics and had a quilt in mind, but now I'm thinking of something else to do with them.
I found these two background fabrics in my stash that coordinate with them. Now what to do????
Browns and pinky-salmon colors. They don't show very well here.
And - surprise this morning -- it is snowing.
Views from our front door and back door. This is probably all we will get but the ground is "almost" covered.
Monday, January 30, 2012
JELLY ROLL STAR - 2nd BOM
Background Fabric:
Cut 4 squares 4" x 4"
Cut 8 squares 3" x 3"
Star Fabric:
Cut 4 rectangles 3" x 6-1/2"
Cut 4 rectangles 3" x 4"
Place a 3" background square on a 3" x 6-1/2" star rectangle. Mark the 3" square diagonally from top left to bottom right and sew directly on mark. Trim off excess and press towards the darker fabric. Do the same thing to the 3" x 4" rectangle. Once finished, you will have this:
Be sure that the diagonal seams make a V when you place the larger one beside the smaller one as above.Sew a 4" background square to the smaller rectangle.
Sew the larger rectangle to the bottom of each of these 4 sections and you will end up with this:
Sew together as a four patch and you are finished with Block No. 2.
Makes me want to buy a jelly roll and make a whole quilt!!
Sunday, January 22, 2012
Ruffled Roses Finished!
This quilt now goes into the 2012 FINISHED QUILTS! Bound and everything!!
Sorry the quilting doesn't show very well but it is very cloudy and couldn't get the light right. I'm just happy to have one in my finished category.
Monday, January 2, 2012
2012 BOM attempt
I have tried everything to do an applique block in EQ7 and get the templates to transfer in "real" size, so if you want to do the applique block and have EQ, it is in the applique blocks, under eight elements, on the last page, bottom right, and called "acorn and oak leaf". If you do not have EQ, you can send me your snail mail address (fratinid@bellsouth.net) and I will mail you the pattern. The pieced blocks probably will not be those shown below but will all have a star feeling to them.
Yardages:
Dark Fabric: 3-1/2 yards (dark red)
Light Fabric: 2-1/2 yards (pink fabric)
Fat Quarters: 6-8 different fabrics
Background for pieced blocks and applique block: 1/2 yard
Cutting instructions for pieced blocks (not the BOM pieced blocks) for the background:
Dark Fabric:
Cut 3 strips 13" wide by wof. Subcut into eight 13" squares. Cut these squares once diagonally.
Cut 4 strips 13-1/4" wide by wof. Subcut into eleven 13-1/4" squares. Cut these squares twice diagonally (both directions)
Cut 11 strips 2-1/5" wide for first border
Remainder can be used in the pieced BOM patterns.
I am not giving the amount of fabric for the final border but will figure that out when we are almost through. If you find what you want before then - my usual rule of thumb is 3 yards so I can cut it on the length of fabric instead of cross grain.
Light fabric:
Cut 2 strips 13" wide. Subcut into six 13" squares. Cut these squares once diagonally.
Cut 4 strips 13-1/4" wide. Subcut into eleven 13-1/4" squares. Cut these squares twice diagonally.
Use remainder in the pieced blocks.
You will need to make 12 blocks using the large triangles from the dark and light fabrics to make this block
(unfinished block should measure 12-1/2"):
Take a dark and light triangle from the smaller triangles and a dark from the large triangles to make this block to make 4 blocks (all of these blocks should measure 12-1/2" unfinished):
One more block to go! Make 20 hour glass blocks using the small triangles:
And here is my applique block (measures 12-1/2" unfinished). I cut my background block 13-1/2", did the applique and then trimmed to 12-1/2":
If you prefer a pieced block for the center block, let me know and I will come up with one for you. You have ALL year to do these background blocks, so you don't have to rush. But I would do the cutting so I would know how much fabric I have left to use in the pieced blocks. I hope some of you will do the BOM with me. I'm doing it for my guild and thought it would be fun to do on my blog. Believe it or not: ALL the fabrics for this quilt is coming from my stash!!!
The quilt with a final border of 6" finished will be 100 x 100. If you don't want the last border, it will finish at 88 x 88.
Subscribe to:
Posts (Atom)